BIOFloc Tarpaulin Tank Setup for 10000L Tank

Let’s do a BIOFloc Tarpaulin Tank Setup and to accomplish that you must know the below information;
- Tank Capacity 12,000L
- Tank Diameter 4 Meter
- GI Mess Circumference 12.56 Meter (Buy 13 Meter)
- GI Mess Height 1.2 Meter
- Tarpaulin Size 4 Diameter
- Tarpaulin Height 1.3 Meter
- Tarpaulin Circumference 12.57 Meter
- Drain Pipe 1 PCS (3 Inch)
- Drain Pipe L Connector 1 PCS (3 Inch)
- Drain Pipe Stopper 1 PCS (3 Inch)
Select a no water logging area and make the surface plain. To setup one BioFloc a Tank of 10,000L capacity, 5 x 5-meter space is required.
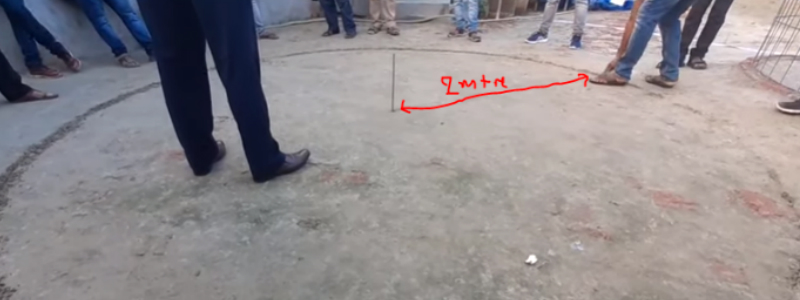
Step1: Mark a center of the place and draw 4 diameter circle (radius = 2 meter)
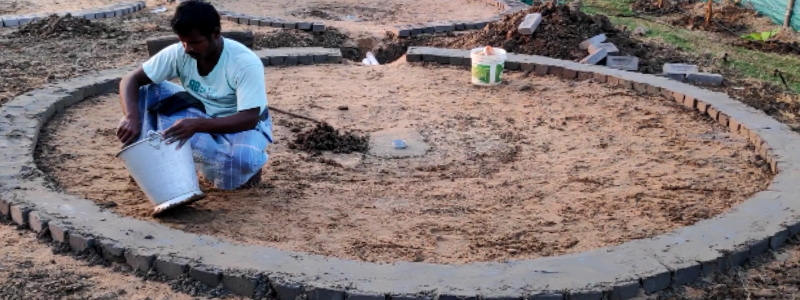
Step2: Arrange the bricks align to the circle as shown in this picture.
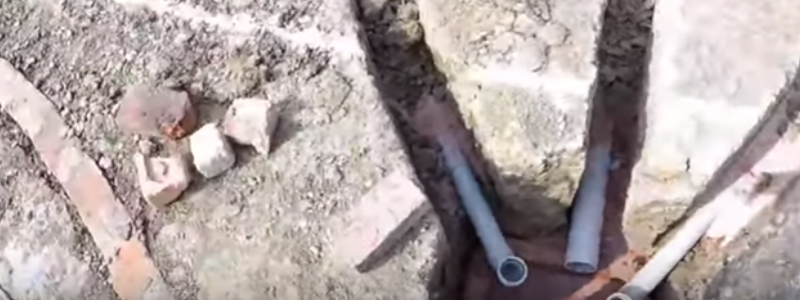
Step3: We need to install a 3-inch drainage PVC pipe on the center to make the slug out. To do that you need to dig from the center of the circle to install 3 inch PVC pipe as shown on the picture.
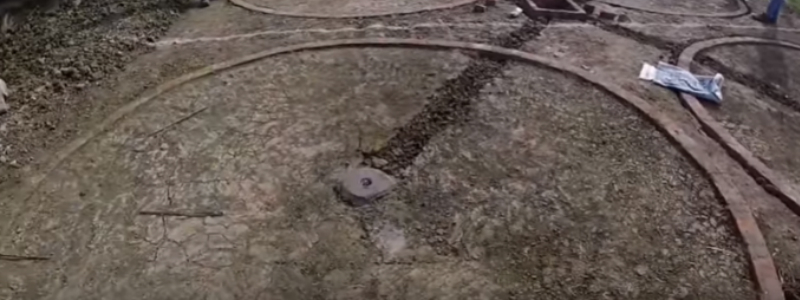
L-Shape 3 inch PVC Connector should be covered with cement that will help to stop the movement of the pipe.

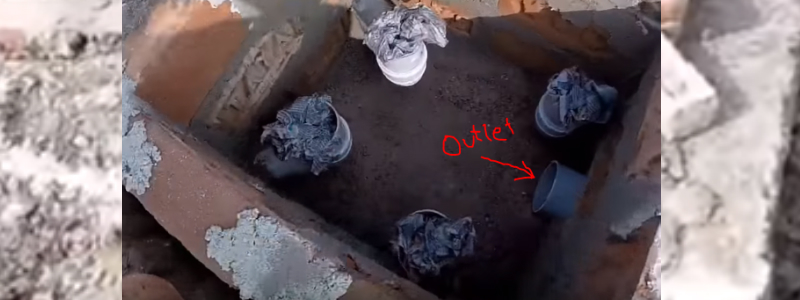
3 Inch Drain PVC Pipe should be connected to a central control unit as shown below.
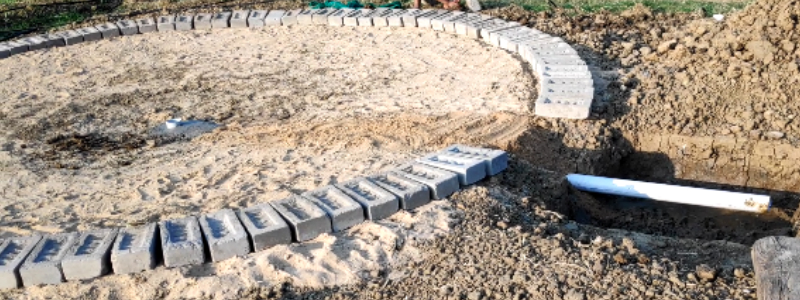
Maintain the drainage pipe sloping around 1.5ft from the center for better drainage of the water.
This is a central control chamber where all the tanks drainage pipes are connected.
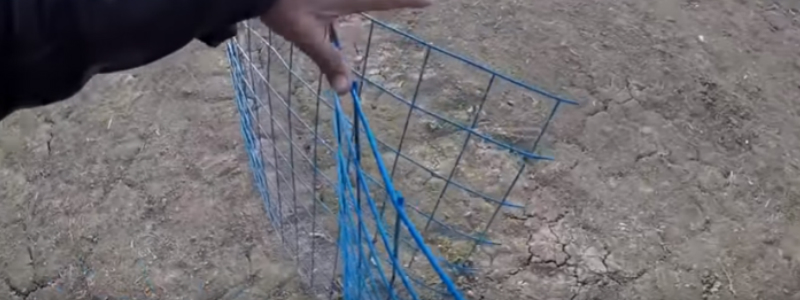
Step4: Mess Circumference should be 12.56 meter so that the Tarpaulin Round Cover properly sit into it. Get a 13-meter length mess and properly joint it to get the 12.56-meter circumference. Once the mess is properly-rounded, check the bottom and the top size of the mess is 4 diameter. To make the mess rust-proof, paint it.
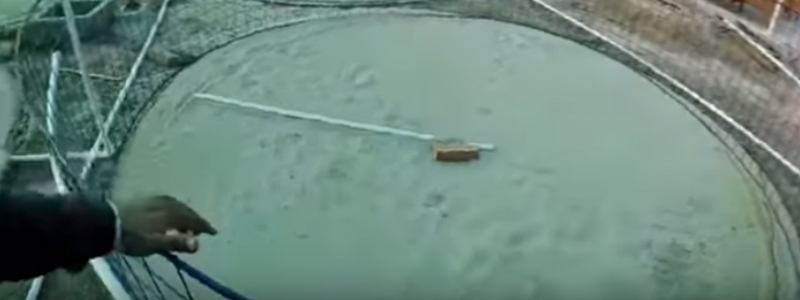
Step5: Fill the center with sand and make it proper slope towards the center as shown below. I would recommend 1.5ft slope is good for better water drainage.
Step6: Now it’s time to sit the mess on the top of the brick and cover the bottom of the mess with cement to protect it from rust.
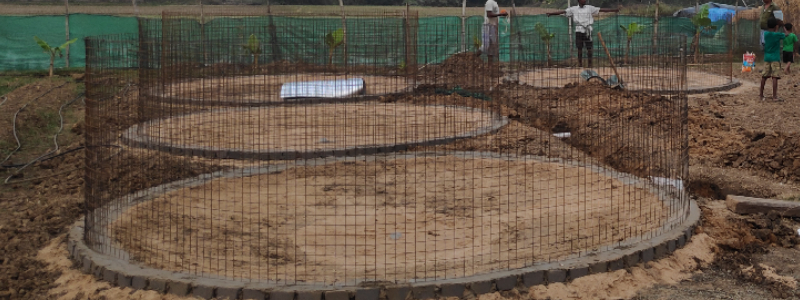


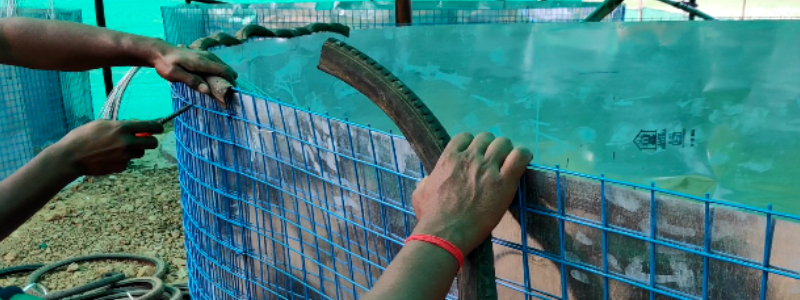
Step7: Once the mess is ready, it is time to set up a protective fiber/aluminum sheet inside the tank. Basically it helps to protect the tarpaulin from external damages.
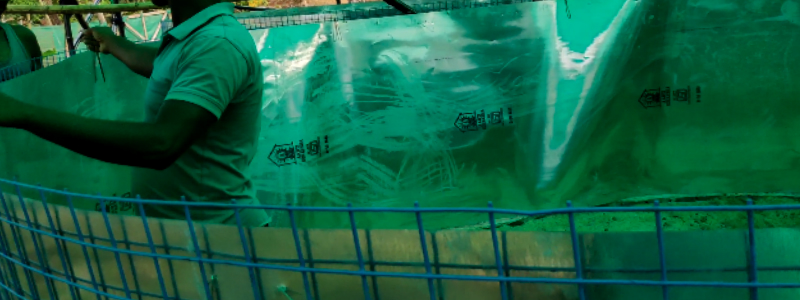
Step8: We are adding one more layer of protection on the bottom of the tank by laying polythene. It’s again personal preference because more investment is required.
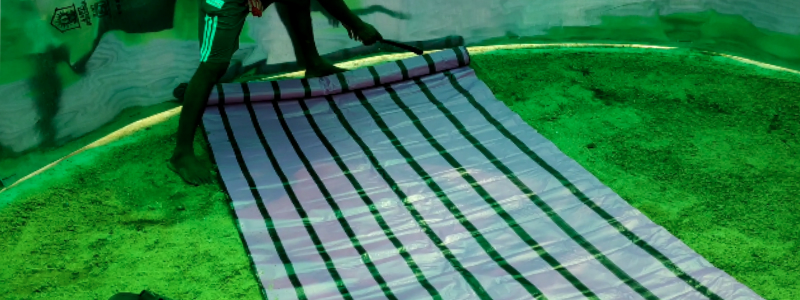
Step9: Iron mess don’t come with the finished product, these sharpen spikes may damage the tarpaulin. These edges need to cover up.
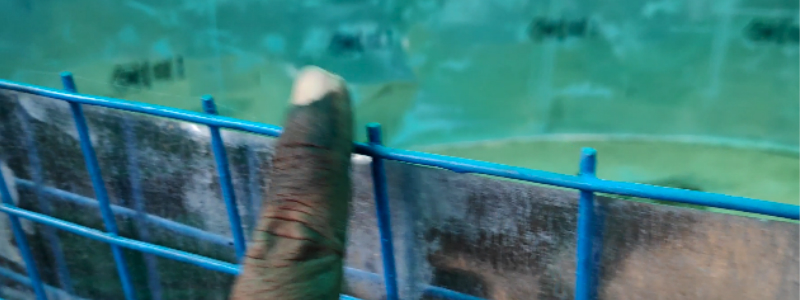
So we are using cycle tires to cover these edges and you can get it for free from any cycle repairing shop.
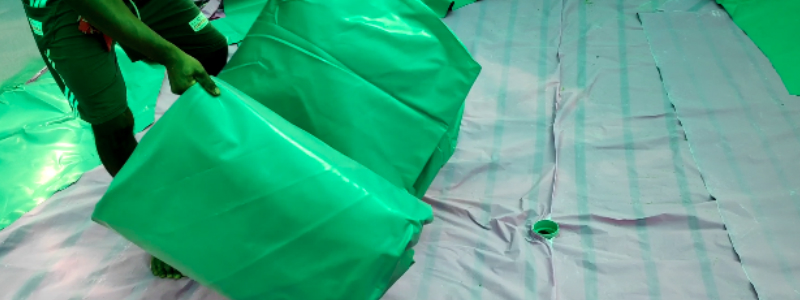
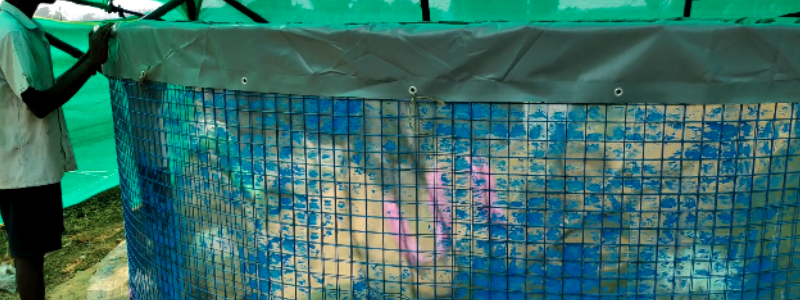
Step10: Now we ready to install 10000L Tarpaulin Tank. Open the Tarpaulin Tank uniformly spread inside the tank.
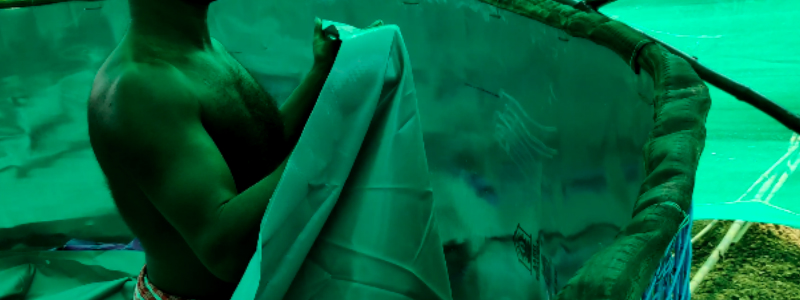
Hold any part of the circular tarpaulin tank and put it on the wire mesh to hold it properly.
Properly size the bottom of the tarpaulin tank.
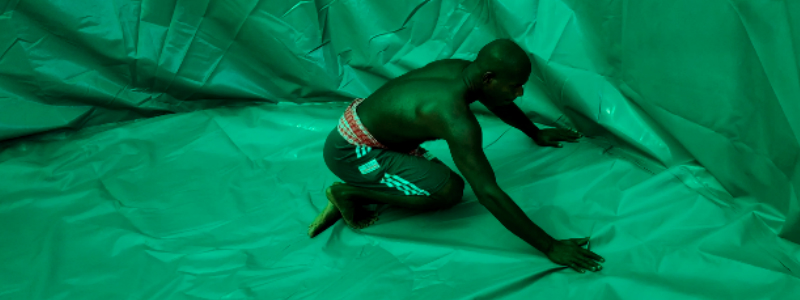
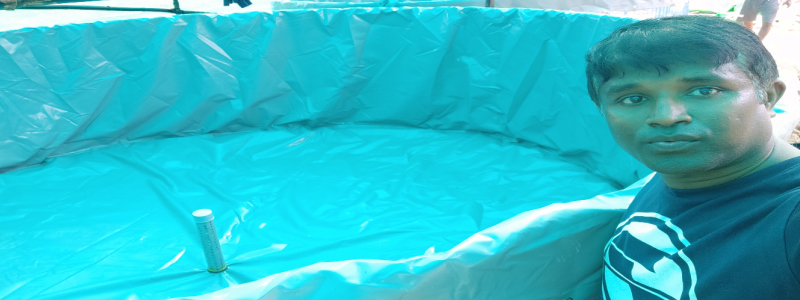
Once the tarpaulin tank setup is properly done, it should look as shown on the below image.
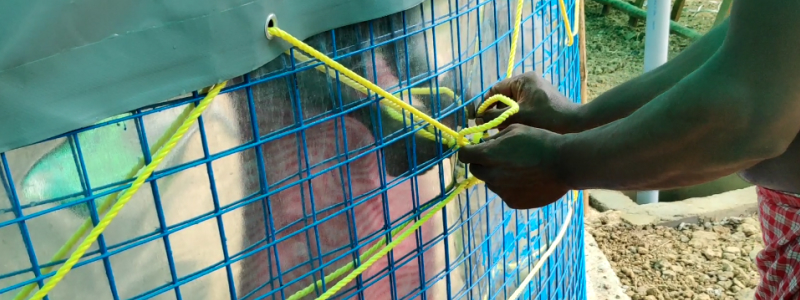
Use a strong nylon rope and tighten the tarpaulin fish tank.
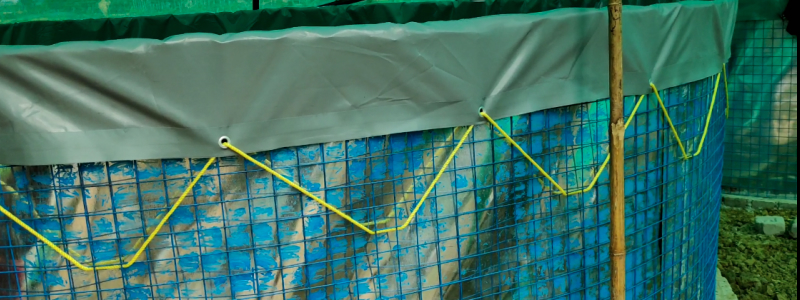
Once the rope is tightened properly the tarpaulin tank should look like the below image.
Once the Tarpaulin Tank is setup properly, install the central drainage pipe. Ensure there is no leakage from the central drainage pipe.
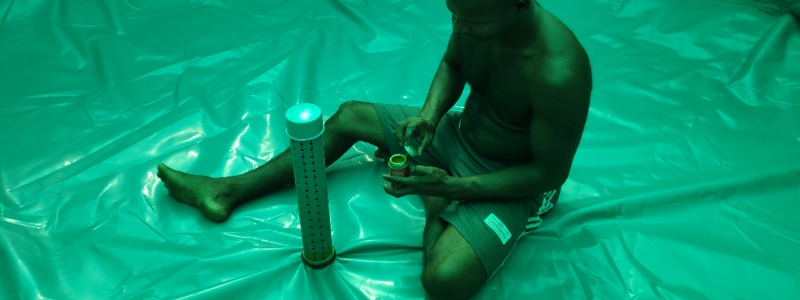
This concludes BIOFloc Tarpaulin Tank Setup.
VERY GOOD… INFORMATION… USEFUL
Thank you so much